

A Practical Guide to Custom Shower Doors Edmonton
A Practical Guide to Custom Shower Doors Edmonton
If you’re researching custom shower doors in Edmonton, this guide lays out the essentials—style choices, glass and hardware options, how to measure, water control, installation prep, ongoing care, and the key questions to ask before you approve a design. Use it as a checklist to move from inspiration to a dependable, easy-to-clean shower enclosure that fits your space and routine.
Start with your space and goals
Begin by clarifying what success looks like in your bathroom. A clear definition of priorities helps you compare options and avoid change orders later.
- Opening style: Do you prefer a sliding panel to save floor clearance, or a swing/pivot door for a wider entry?
- Footprint: Is your shower alcove straight, corner-based, or irregular (such as a neo-angle)?
- Maintenance: Do you want the minimal hardware and fewer crevices of a frameless look, or the structure of framed/semi-frameless?
- Accessibility: Consider threshold height, handle type, and entry width for present and future needs.
- Privacy and light: Clear glass maximizes light; patterned or tinted glass softens sightlines.
- Design harmony: Match hardware finish to faucets, lighting, and cabinet pulls for a cohesive palette.
Measure your available swing or slide path, account for rugs and vanities, and note any obstructions like toilets, towel warmers, or baseboard heaters. Small layout decisions at this stage often determine whether daily use feels effortless or cramped.
Popular styles and configurations
Custom work allows you to size and configure the enclosure precisely. Here are common directions to explore, each with distinct trade-offs.
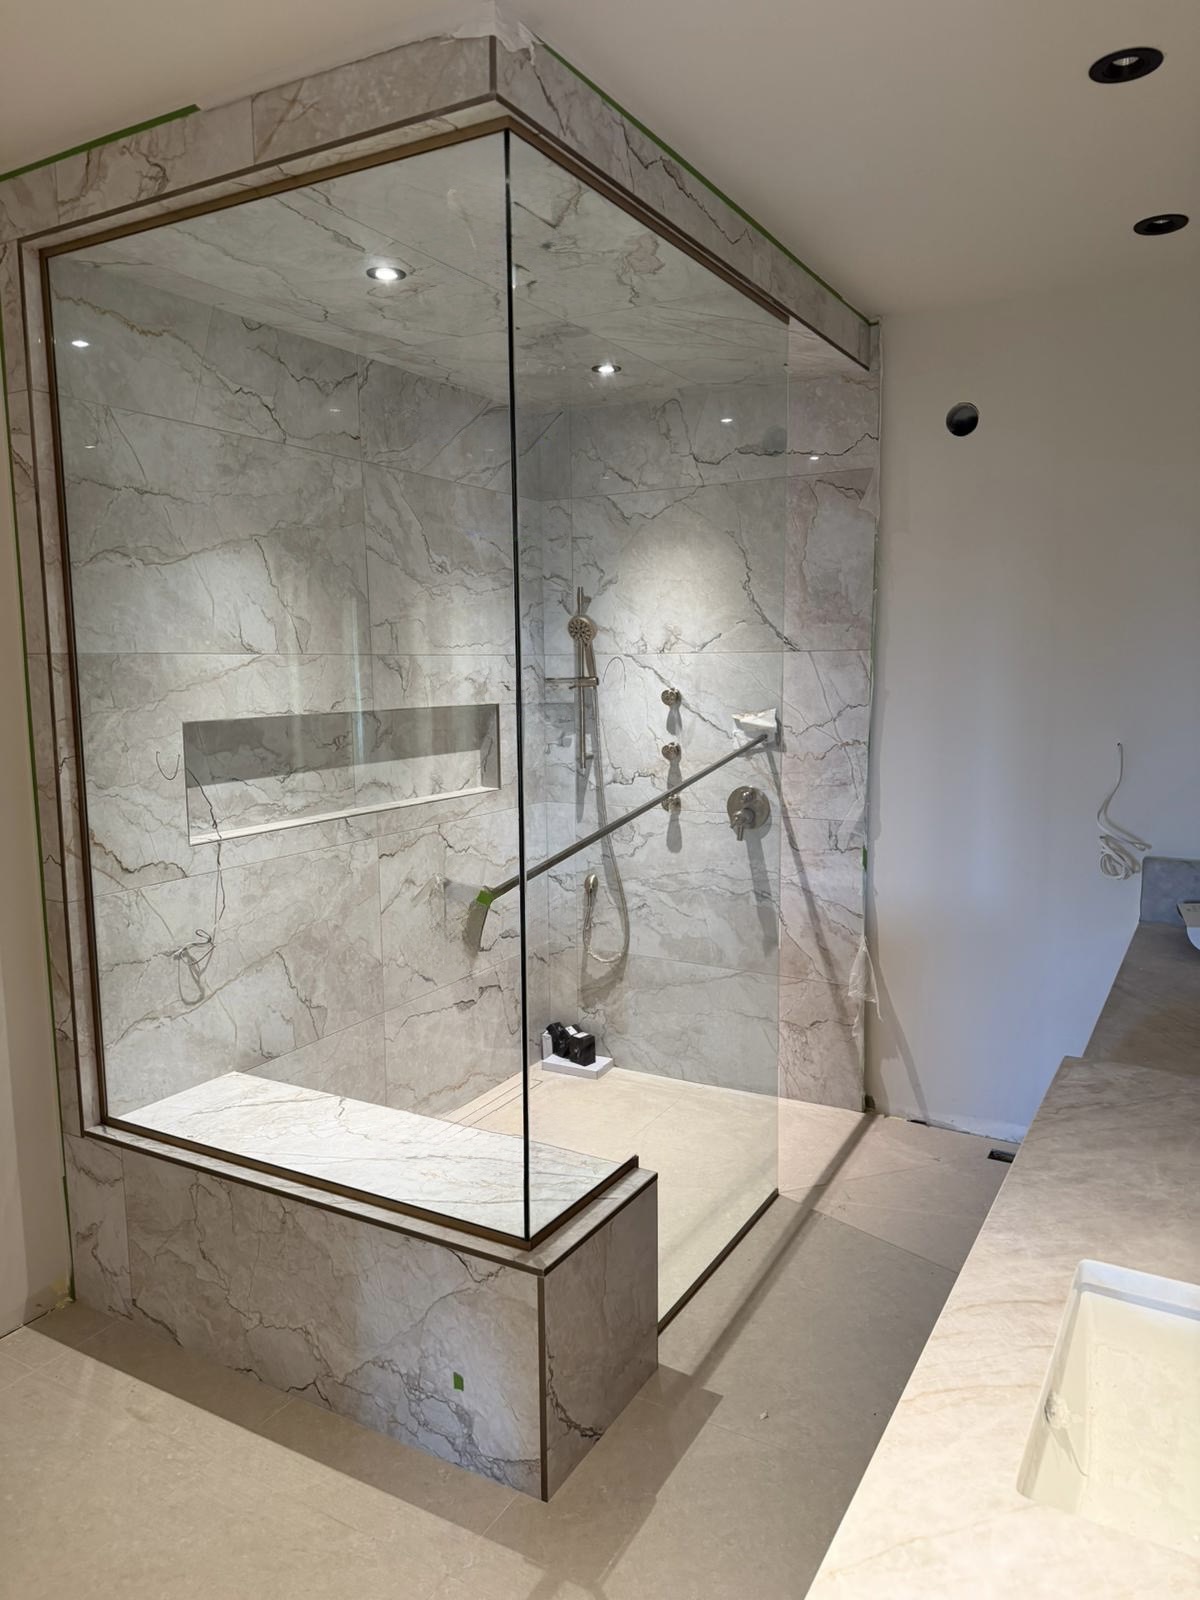
- Frameless hinged (swing) doors: Clean lines and generous access. Requires clearance for the door arc and stable wall anchoring. Often paired with fixed glass panels for larger spans.
- Pivots: Similar to hinged but rotate on a pivot point at the top and bottom, which can reduce stress on side walls and allow creative placements.
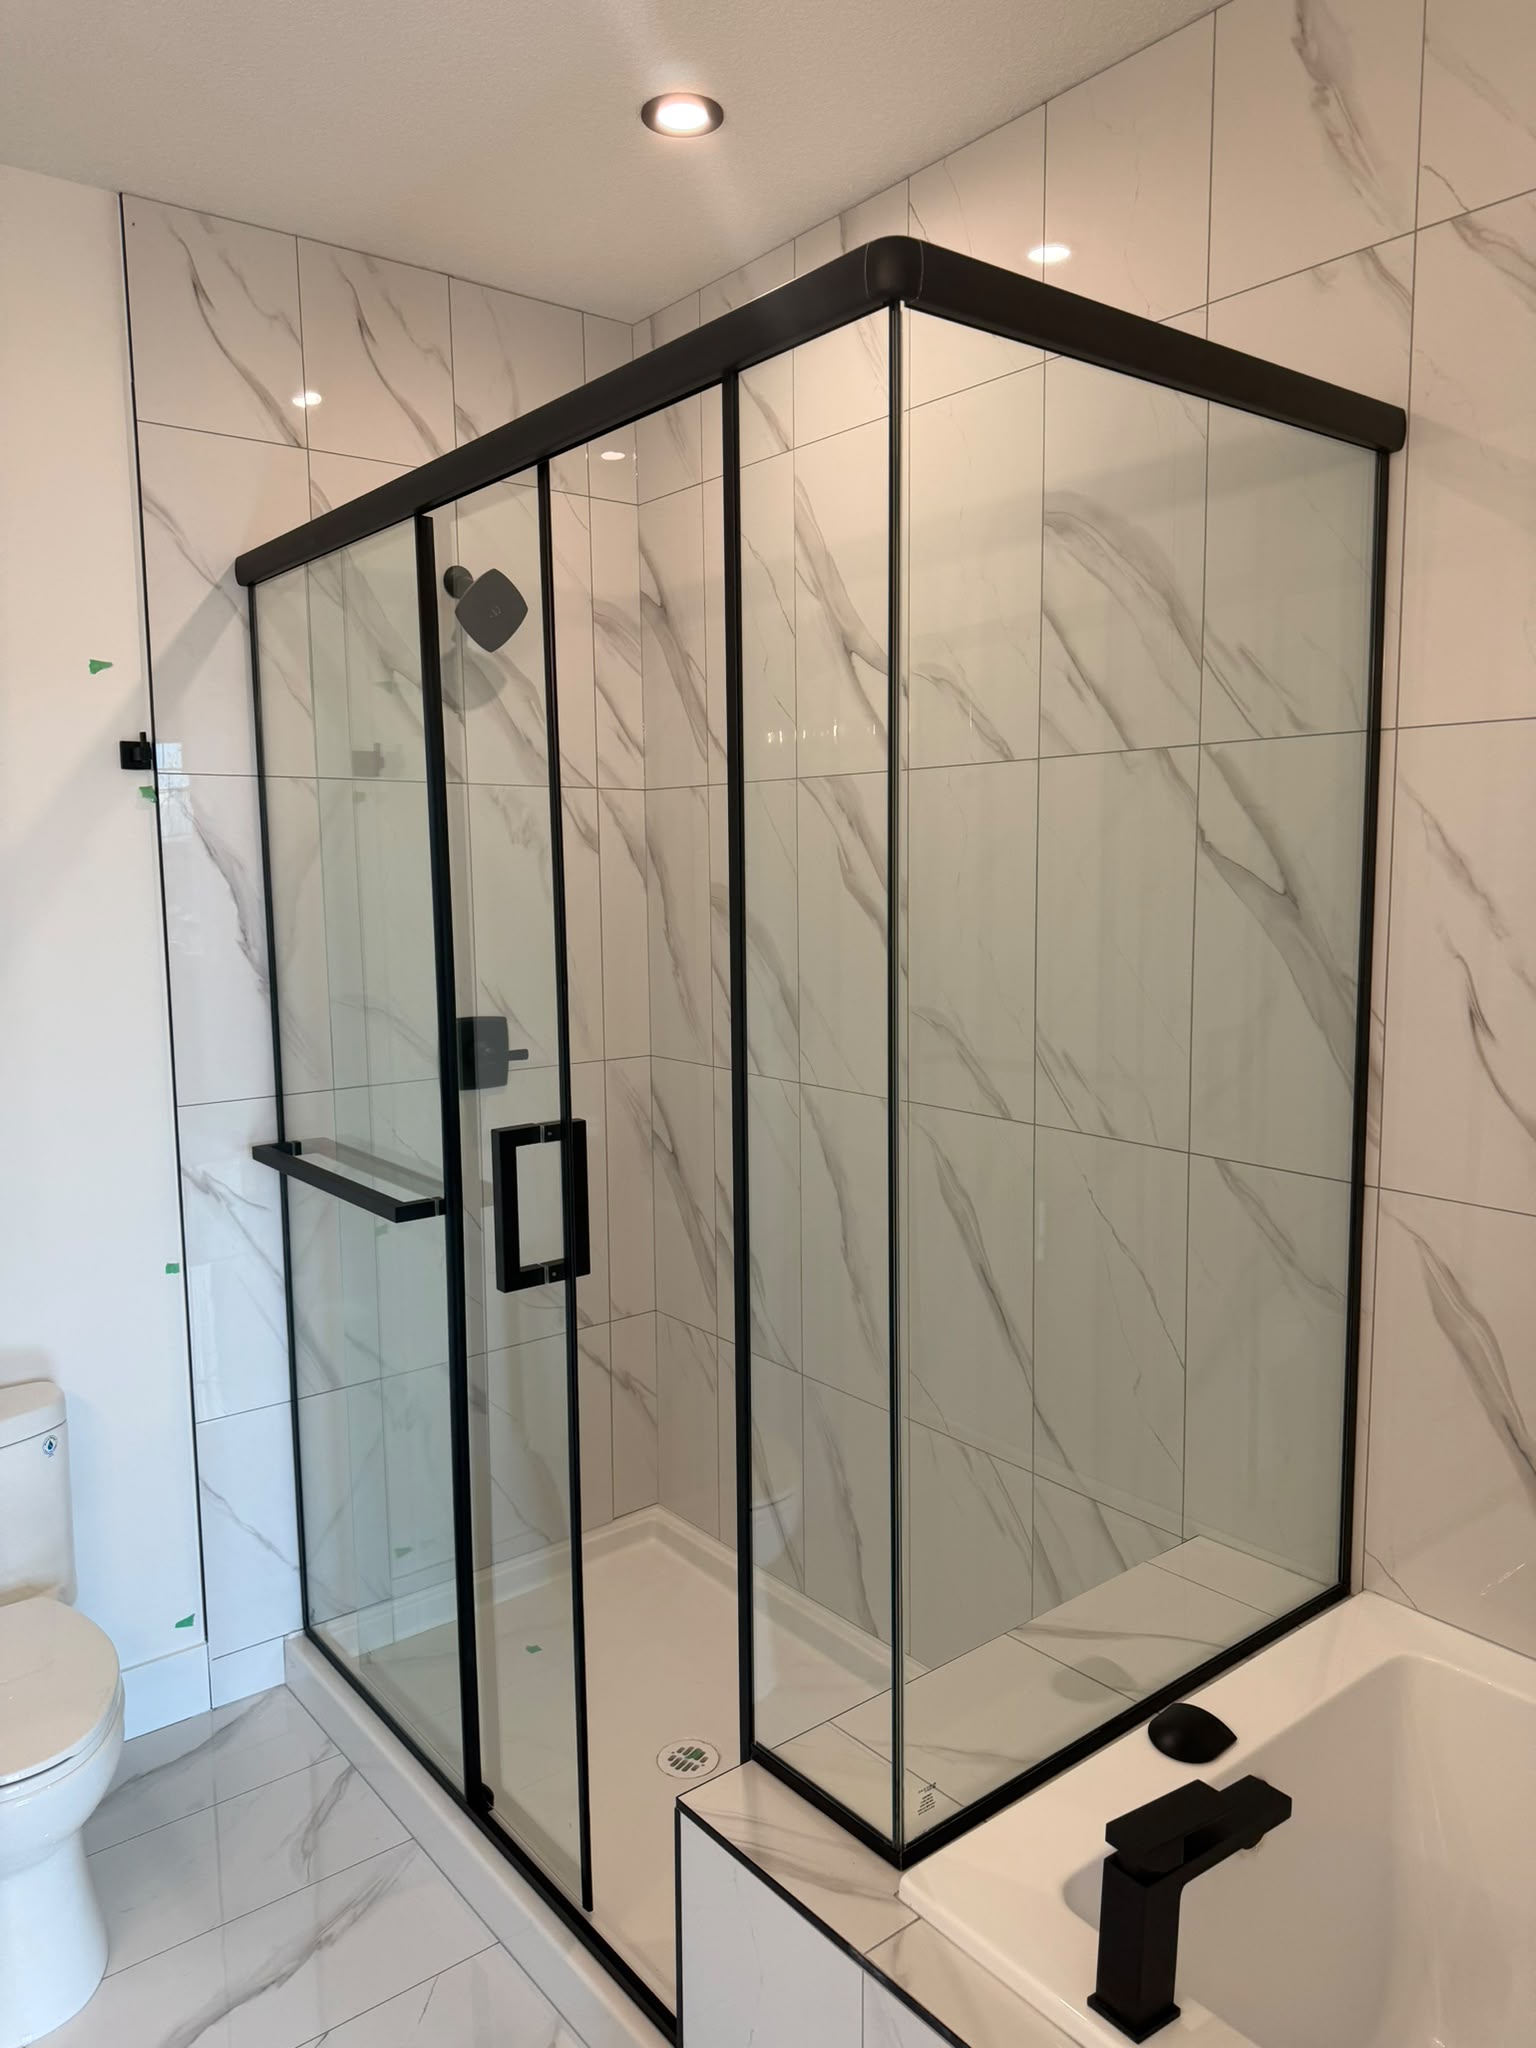
- Sliding Shower (bypass) doors: Great where floor space is tight. Look for smooth-rolling systems and easy-to-clean tracks or top-rail designs. Also useful for tubs that double as showers.
- Neo-angle enclosures: Designed for corner showers, typically with a door on the diagonal. Useful for tight bathrooms where a rectangular footprint isn’t practical.
- Tub doors and panels: Replace curtains with sliding or hinged glass for better splash control and visibility. A fixed tub screen can modernize the look while minimizing moving parts.
- Steam-ready enclosures: Full-height panels with transoms can help contain steam in designated steam showers. Plan for ventilation and materials suited to higher moisture.
Within these families, custom dimensions let you dial in door width, panel sizes, header use, and bracing methods to match both structure and style.
Glass thickness, finishes, and hardware
Material choices influence how your shower feels, performs, and cleans.
- Safety glass: Tempered glass is the standard for shower enclosures. It’s engineered to fracture into small pieces if broken. Laminated glass is another safety option that holds fragments together via an inner layer.
- Thickness: Custom enclosures commonly use thicker glass than basic framed units, adding rigidity and a premium feel. Ask how thickness relates to span, bracing, and hardware selection.
- Clarity and privacy: Options may include low-iron (extra clear) for true color viewing, standard clear, frosted/acid-etched, patterned, or tinted glass. Choose based on light levels and privacy needs.
- Protective treatments: Some glasses or coatings are designed to reduce spotting and make cleaning easier. Clarify care instructions if you select a coating.
- Hardware finishes: To unify the room, coordinate with fixtures. Common finishes include Chrome, Matte Black, Brushed Nickel, and Gold. Confirm availability across hinges, clamps, handles, towel bars, and slider systems.
- Handles and accessories: Ladder pulls, knobs, or back-to-back handles each change the feel and grip. Consider integrated towel bars or combination pull/towel bars on sliders.
When mixing finishes in a bathroom, pick a dominant finish for large elements and limit accents to one other tone for balance.
Measuring for a custom fit
Accurate measurements are the backbone of a smooth project. Whether you take preliminary measurements yourself or coordinate with a professional site visit, follow a consistent approach.
- Confirm the base is set: Measure only after tile, stone, or solid-surface panels and the shower base or curb are fully installed. Final surfaces can change dimensions.
- Measure width in multiple places: Capture top, middle, and bottom widths, then note the smallest figure. Walls and curbs are rarely perfectly parallel.
- Check height and plumb: Measure overall opening height and use a level to assess wall plumb. Note any out-of-plumb conditions so glass can be cut to accommodate them.
- Plan door swing or slide path: For swing doors, verify clearance to vanities, toilets, and towel bars. For sliders, confirm the overlap and entry side preference.
- Account for thresholds and seals: Record curb width and slope direction. Identify where seals, sweeps, and thresholds may be needed.
Document all dimensions clearly with diagrams. For complex layouts like neo-angle or steam enclosures - detailed site measurements help ensure panels meet precisely without gaps.
.png)
Installation prep and what to expect
Good preparation minimizes surprises. Use this checklist before installation day.
- Confirm access: Clear a path from entry to the bathroom and protect floors as needed.
- Verify substrate strength: Shower doors anchor into framing, tile, or stone; confirm appropriate backing where hinges, headers, or bars attach.
- Check water supply shutoffs: If any plumbing adjustments are pending, finish them before glass arrives.
- Ventilation plan: Ensure a functioning bath fan and adequate room ventilation, especially for steam-style enclosures.
- Power tools and noise: Expect normal installation sounds; plan around naps, pets, or meetings.
- Cure time: Sealants and silicone need time to set before first use. Ask for the recommended wait period and avoid splashing during that window.
After installation, review operation of doors and sliders, inspect seals and clearances, and confirm care instructions for glass and hardware.
Water control and ventilation
Every custom shower door plan should address how water moves and how moisture leaves the room. These details extend the life of finishes and reduce cleaning time.
- Slope into the shower: Curbs and thresholds should pitch inward to direct water back into the pan.
- Gaps and seals: Minimal, intentional gaps help with airflow and door swing. Strategically placed seals and sweeps manage splashes without trapping water.
- Door placement: Position the door away from the direct spray path when possible, or use a fixed panel to break the stream.
- Showerhead selection: Rainheads splash less laterally than some body sprays; handshowers offer targeted control.
- Room ventilation: A capable exhaust fan helps limit condensation on glass and grout. In steam setups, plan for appropriate sealing and a transom or vent per the design intent.
Thoughtful water management typically comes from a combination of glass layout, hardware selection, and fixture placement—not from any single component.
Care, cleaning, and maintenance
Clear glass and crisp hardware look best with a simple, repeatable care routine.
- Daily habits: A quick squeegee pass after showers reduces minerals and soap film.
- Weekly wipe-down: Use a non-abrasive glass cleaner or a mild vinegar-and-water solution on glass. For hardware, follow the manufacturer’s cleaner guidance for the finish.
- Avoid abrasives: Skip scouring pads and harsh chemicals that can scratch glass or dull finishes.
- Check seals and sweeps: Inspect bottom sweeps and side seals a few times a year; replace if they stiffen or gap.
- Hardware tune-ups: Periodically verify hinge tension and slider alignment per product instructions.
If your water is mineral-rich, consistent squeegeeing and gentle cleaners go a long way toward preventing buildup. Where a protective glass treatment is used, confirm compatible products before cleaning.
Planning, budget, and timeline questions
Custom shower doors are made to order. Lead time and cost vary with glass thickness, panel count, specialty shapes, coatings, finish choice, and site conditions. Use questions like these to plan confidently with your chosen provider:
- Which configuration best fits my footprint and clearance constraints?
- How will out-of-plumb walls or uneven curbs be addressed in fabrication?
- What glass thickness and bracing are appropriate for my span?
- Which seal and threshold strategy will control water without impeding cleaning?
- Are there care limitations for the selected finish or any protective glass treatment?
- What are the steps from measurement to installation, and what decisions do you need from me at each step?
- What could extend timelines (for example, tile changes, specialty hardware, or complex cuts), and how are schedule updates communicated?
- How will you verify alignment and operation at handoff, and what should I check during walkthrough?
Capture answers in writing alongside your drawings and finish schedule so your project file always reflects the latest choices.
Design tips for Edmonton bathrooms
Bathrooms in any climate benefit from designs that balance light, warmth, and easy upkeep. Consider these ideas when planning custom shower doors:
- Maximize light: Clear or low-iron glass keeps small rooms feeling open; add privacy with frosting on the lower third if needed.
- Warmth and contrast: Matte Black or Brushed Nickel hardware can frame the glass subtly; Gold adds warmth alongside wood tones and light stone.
- Compact layouts: Sliders or neo-angle sets can make efficient use of tight footprints.
- Future-friendly handles: Consider grips that are comfortable for all users and easy to reach from inside and outside the enclosure.
- Unified palette: Repeat your chosen metal finish across shower hardware, lighting, and cabinet pulls for consistency.
When in doubt, sketch your layout with swing arcs or slider overlaps to visualize entry points and towel reach.
FAQs
What’s the difference between frameless, semi-frameless, and framed shower doors?
Frameless doors use thicker tempered glass and minimal metal, emphasizing clear sightlines and easy cleaning. Semi-frameless designs reduce visible framing compared to fully framed units while retaining some perimeter structure. Framed doors surround glass panels with metal on all edges, which can accommodate thinner glass and traditional looks. Your choice balances aesthetics, rigidity, maintenance, and budget.
How do I keep my custom shower doors from leaking?
Water management starts with layout: place the opening away from the main spray when possible, ensure the curb slopes inward, and use targeted seals, sweeps, and thresholds. Verify that gaps are intentional, hinges or rollers are aligned, and the showerhead pattern doesn’t blast directly at the door seam. A quick post-shower squeegee also limits drips and spotting.
What glass thickness should I choose?
Appropriate thickness depends on panel size, whether the system is framed or frameless, and how panels are braced. Thicker glass adds rigidity and weight, which influences hinge or slider specifications and anchoring. Review your spans and hardware plan together so the glass, supports, and fasteners form a matched system.
Can custom shower doors work for tubs?
Yes. Tub doors are a popular way to replace curtains. Sliders maximize access without requiring floor clearance, while a hinged panel or fixed screen offers a modern look. Confirm tub edge levelness, wall plumb, and desired opening side before ordering.
How should I prepare my bathroom before measurement?
Have the final tile or wall surface, curb, and fixtures installed. Confirm the shower base and curb slope, note any out-of-plumb walls, and decide on handle placement and door swing or slider entry side. Clear access so accurate dimensions can be taken without obstruction.
Your next step
A practical next step
To discuss the options that apply to your situation, contact OZ Shower Doors and request the relevant details before moving forward.